
FC 27 tips: Defend better, create space, and finish more chances
12 essential EA FC 27 tips
Reviewed by : Naim Rosinski
The best FC 27 tips help you take control of the next action: selecting the defender who can stop a run, directing an attacker into space, or choosing a finish that suits the goalkeeper’s position.
This guide covers defensive positioning, physical challenges, attacking runs, dribbling, passing, finishing, and squad decisions.
12 FC 27 tips you should know
Returning from FC 26, marking opponents has been our biggest adjustment. Dribbling and changes of direction give attackers more options, so defending requires patience without becoming passive.
1. Control the defender who can stop the next action
In Competitive gameplay, AI teammates no longer automatically initiate tackles when a dribbler approaches. Manually controlled defenders also have greater interception reach.
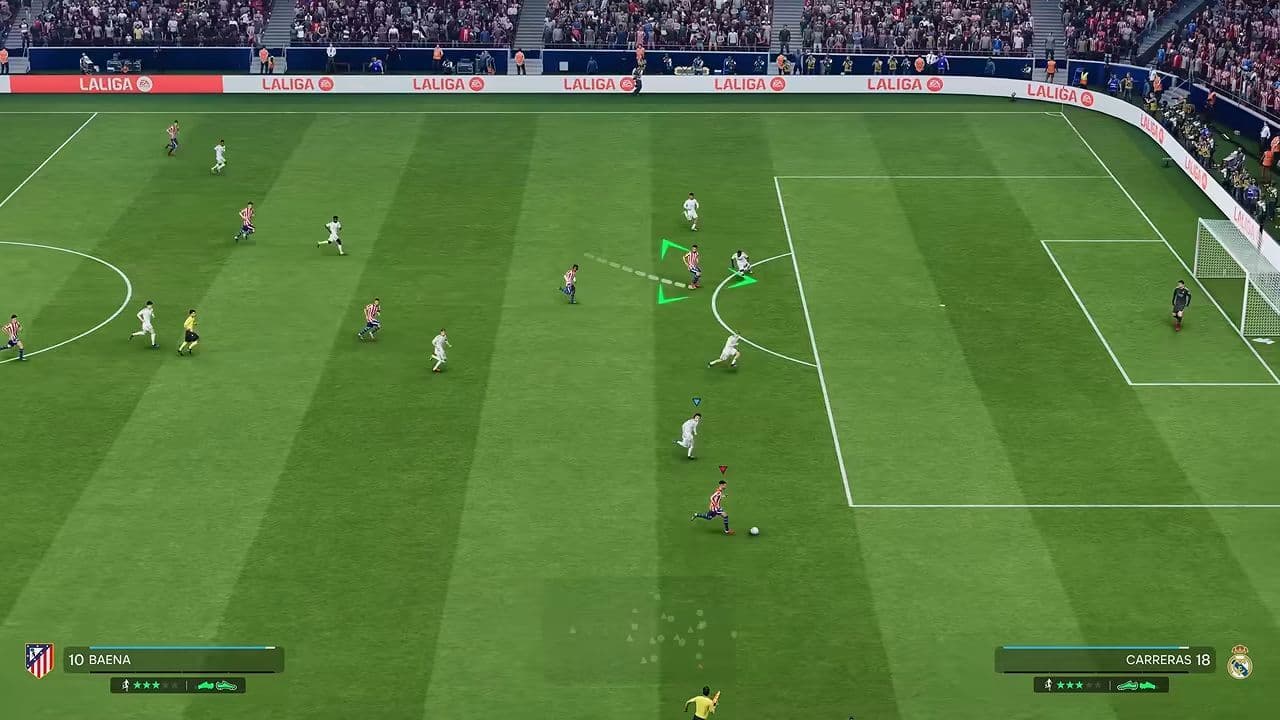
Watch the developing threat rather than following the ball alone. If an opponent is preparing a pass into their striker, select someone who can close that lane before the delivery.
Once an attacker exposes the ball within tackling distance, commit when the opportunity is realistic. Staying nearby without acting can give them time to turn.
Manual defending means intervening at the right moment, rather than constantly dragging players toward possession.
2. Recover with midfielders until a defender needs to engage
When your midfielder can still recover through the centre, use them to support the back line. This preserves another player in the defensive situation.
Switching to a centre-back too early can leave that midfielder behind while pulling a defender away from their position.
However, do not keep chasing with a beaten midfielder when a defender must confront the attacker. Ask whether your current player can still influence the next action. If they cannot, switch.
Against a runner threatening the space behind your defence, prioritize covering that movement before the through ball arrives.
3. Jockey before committing to a tackle
Use jockeying to stay facing the attacker and adjust your position without immediately committing to a challenge.
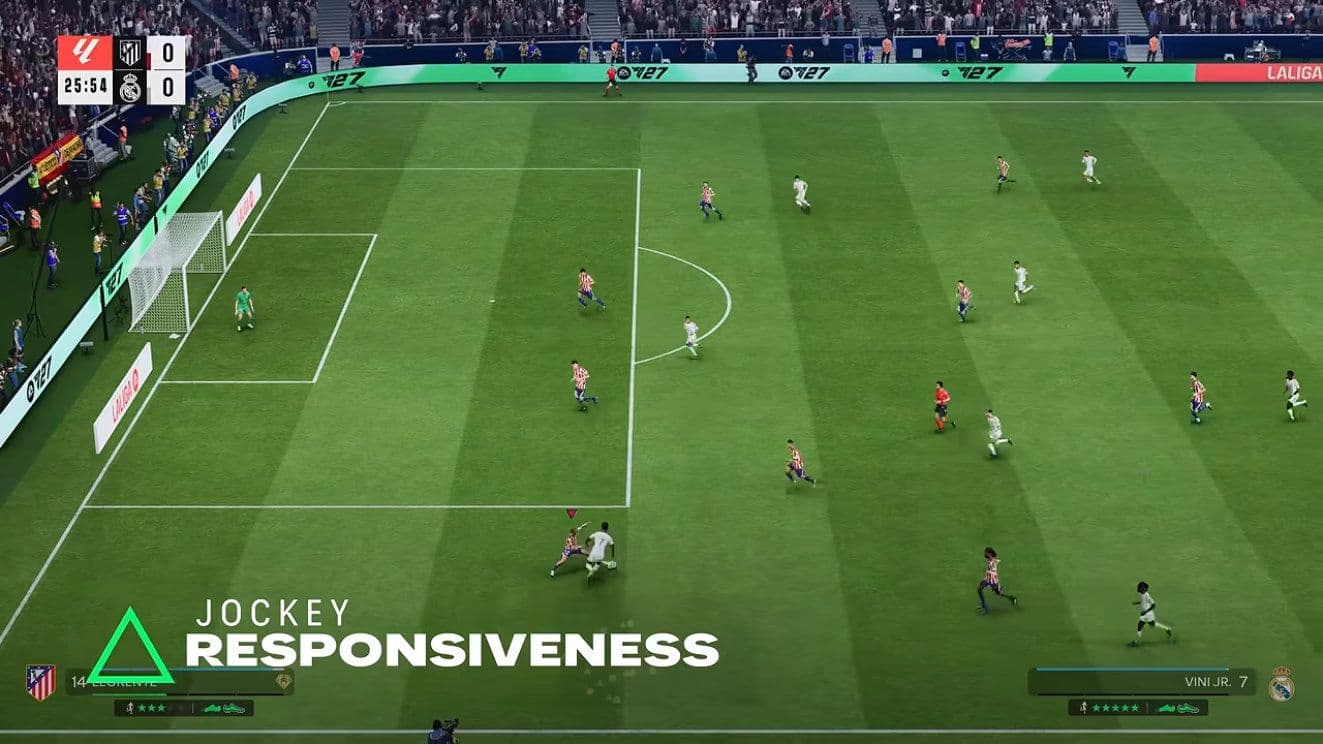
Use the faster movement when recovering ground, then reduce your speed as you approach.
Challenge after a loose touch or when the attacker moves the ball within reach. Repeatedly tackling from poor positions gives them opportunities to move beyond you.
If you miss, recover your position before trying again.
4. Use physical challenges from a suitable position
With Advanced Defending selected, tackle types use separate inputs. Tactical Defending instead chooses the challenge contextually.
For a physical challenge under Advanced Defending, use X on PlayStation or A on Xbox.
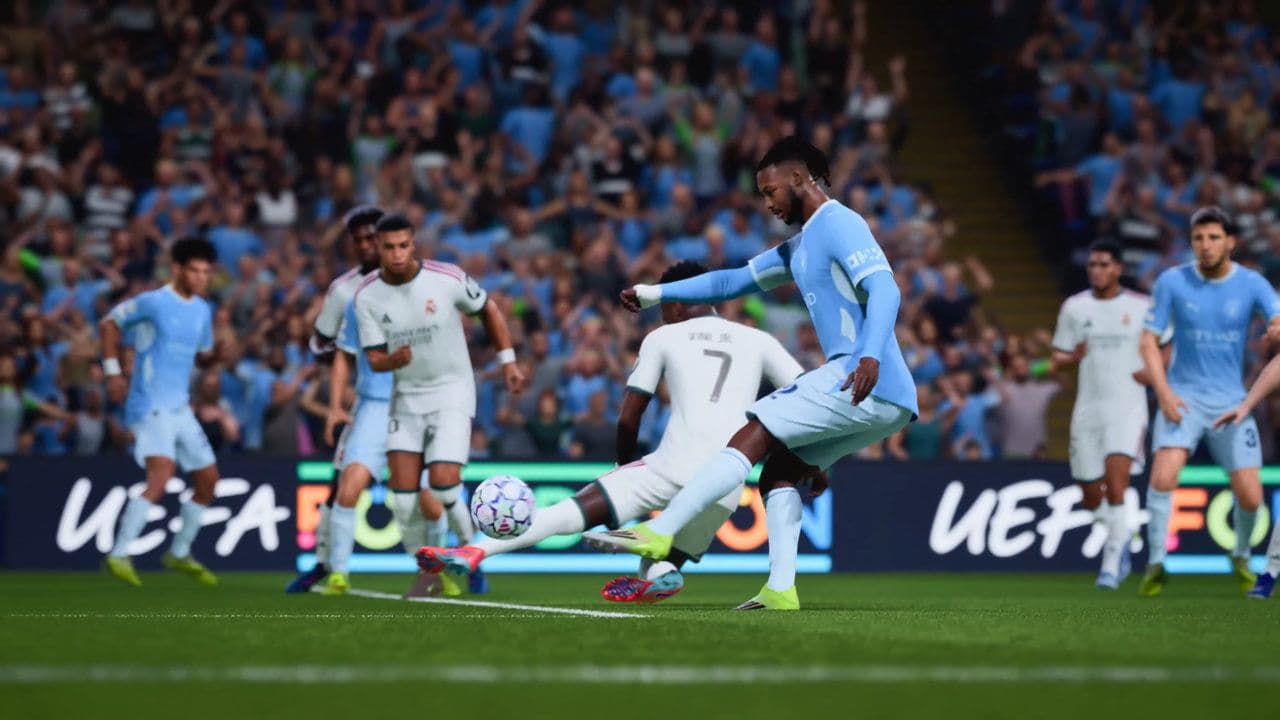
First establish a useful position beside the attacker. Then make a deliberate input rather than repeatedly pressing the button while chasing from behind.
If the attacker turns away, reposition before attempting another challenge. Do not treat a missed attempt as a reason to keep pressing.
Physical defending should support your positioning, not become a substitute for it.
5. Trigger runs instead of waiting for an opening
Manually triggered curved runs provide another way to move attackers around defenders. They can take longer than direct runs, and manually triggered movement ends after a limited distance.
Use these inputs when a teammate has useful space to attack:
Watch the movement before passing. A triggered runner can draw a defender away even when they never receive the ball.
Avoid sending several players forward without retaining a safe passing option.
6. Direct runs toward the space you actually want
For a directed run, trigger a teammate with L1/LB, then quickly flick the right stick toward the desired direction.
This is useful when a straight run would carry the attacker into a defender. Send them toward an outside channel or an unoccupied lane instead.
Use the command when you have enough time to observe the result. Attempting several inputs while the ball carrier is already under immediate pressure can cost possession.
Practice the timing until you can direct movement without accidentally performing a skill move.
7. Match your dribbling method to the available space
Use close control near opponents and accelerate once a route opens.
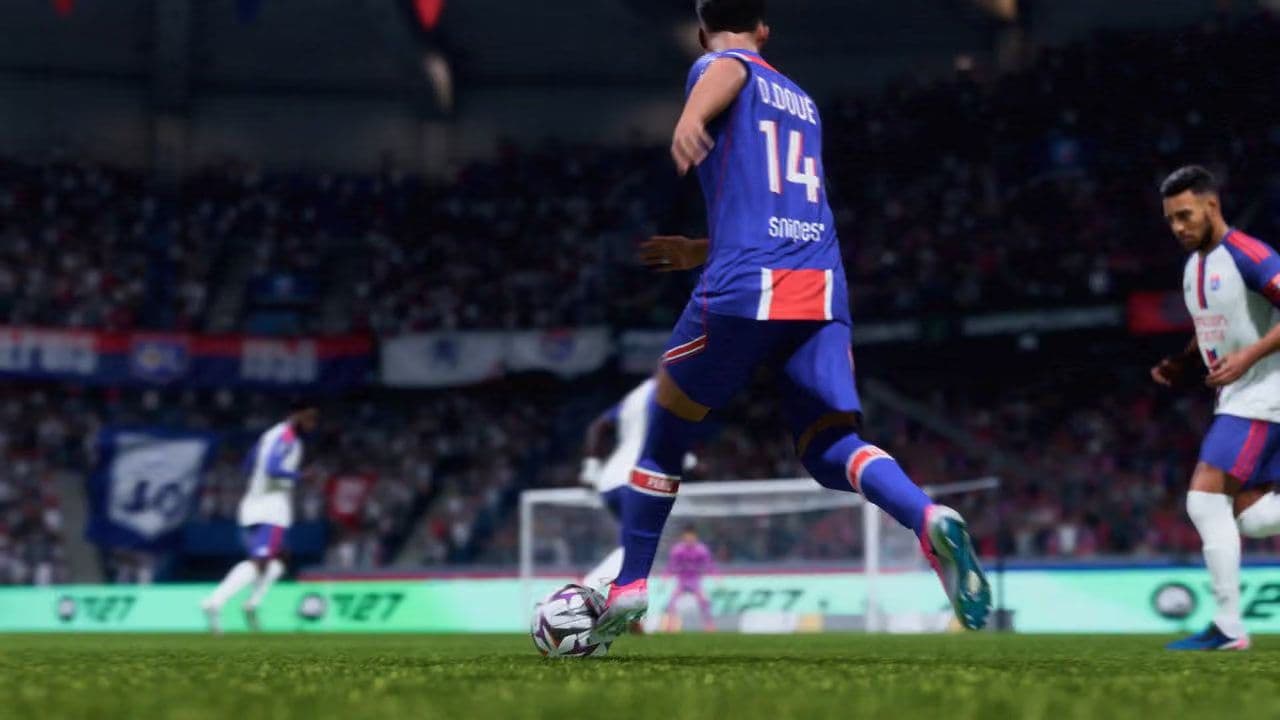
For example, move away from pressure with strafe dribbling, then release it and advance when the defender commits.
The stop-and-face-goal input offers another way to change the rhythm near the penalty area. Use it with space to turn; stopping within tackling distance can leave you exposed.
8. Take your first touch away from pressure
A controlled first touch can help you receive and move into an open lane.
As the ball arrives, hold R1/RB and flick the right stick toward the intended space.
A useful situation is a pass from the wing into a striker who has room beside them. Direct the touch into that space before preparing the finish.
Check the destination first. If a defender already occupies it, protect possession or return the pass instead. An aggressive first touch is valuable only when there is somewhere useful to go.
9. Aim through balls ahead of the runner
Grounded and lobbed through passes follow directional input more strictly in FC 27.
For a lobbed through ball, use L1 + Triangle on PlayStation or LB + Y on Xbox.
Aim toward reachable space ahead of the attacker, considering their direction and the defender’s recovery route. Adjust power to the distance rather than using the same amount for every delivery.
If the runner is offside or the passing route is covered, keep possession. Triggering movement creates an option; it does not require you to use it.
10. Learn low driven finishes without relying on one shot
To perform a low driven shot, set power with the shooting button, release it, then quickly tap it again.
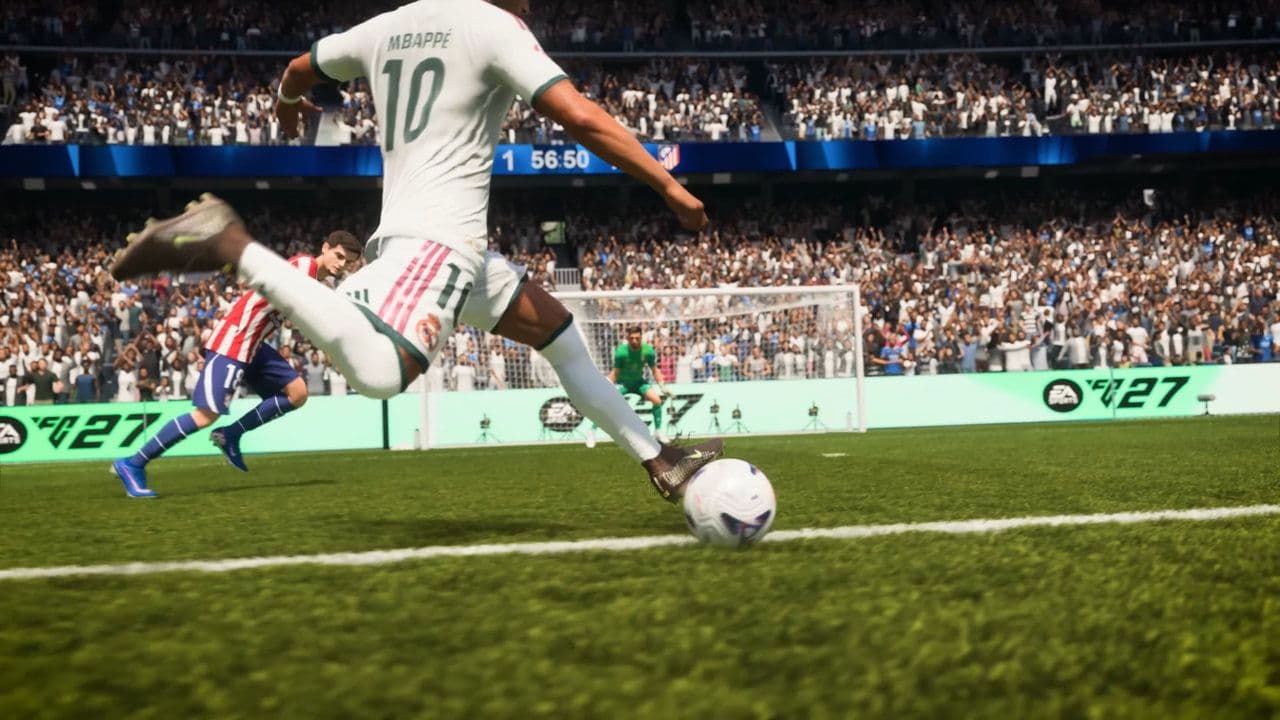
Try low finishes when a clear route is available. Consider a chip when the goalkeeper advances, and reserve power shots for situations with enough preparation space.
Check the goalkeeper before choosing your target. Neither the near post nor the far post is automatically correct.
11. Use shot cancellation to punish an early block
If a defender rushes toward a power-shot wind-up, cancelling can let you move into the space they leave.
Begin the power shot, then press L2 + R2 on PlayStation or LT + RT on Xbox before the strike.
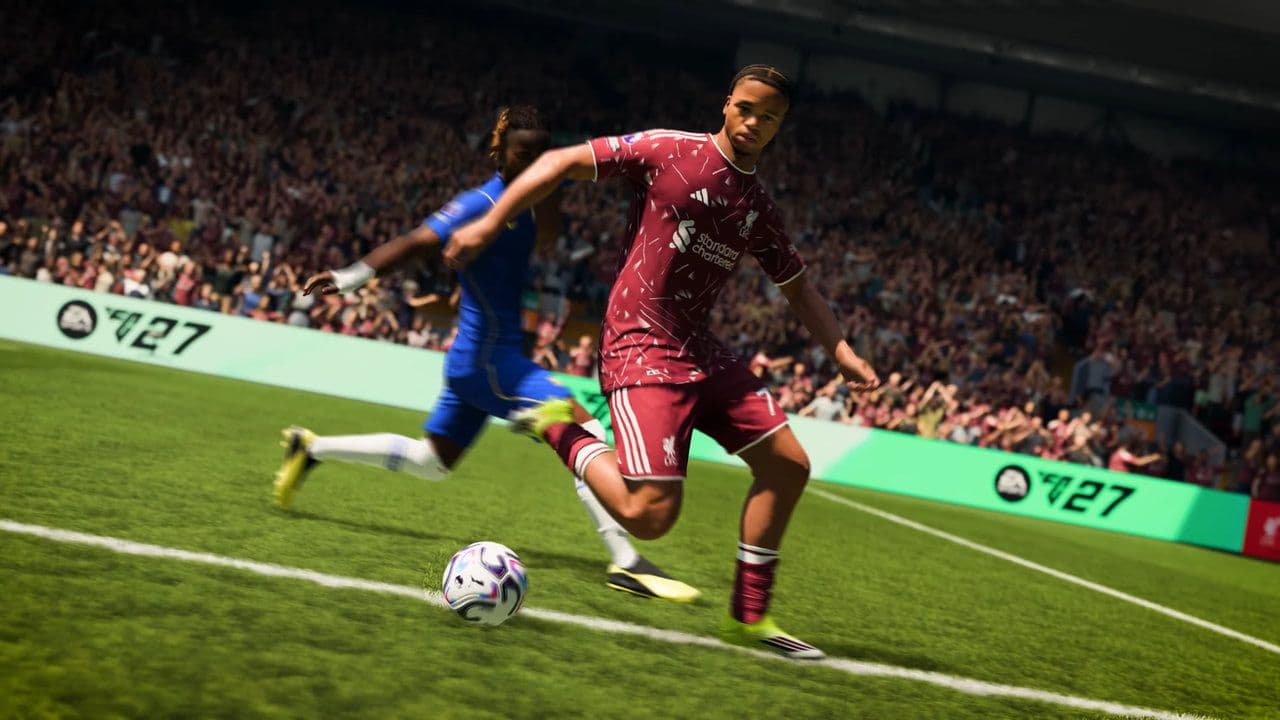
Reassess immediately afterward. You may have a shooting lane, a passing option, or no advantage at all.
Practice the timing away from competitive matches first. Cancelling too late can release the shot, while repeating the same setup makes the action easier to anticipate.
12. Build around responsibilities and practice specific weaknesses
Choose players for the actions their position repeatedly requires. Consider defensive attributes for ball winners, passing for creators, and suitable movement and shooting attributes for attackers.
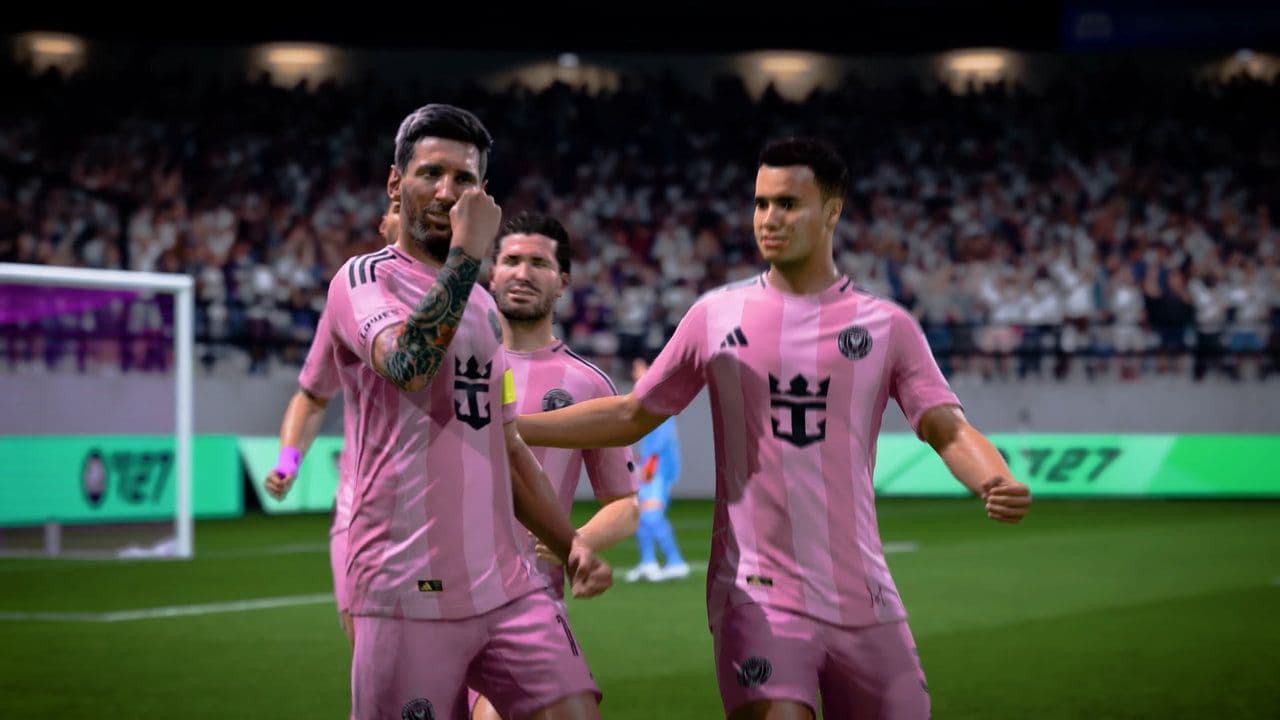
In Ultimate Team, inspect Evolution Pathways and the Evolution Chain Preview before committing resources. Compare the resulting player with the role you need filled.
For practice, use the Training Centre and Practice Arena to isolate a problem rather than attempt every technique at once.
Start with marking and player selection, then add one attacking technique at a time. Track whether it solves a repeated problem in your matches. That gives each change a clear purpose.
Meet Eray, a tech enthusiast passionate about AI, crypto, gaming, and more. Eray is always looking into new developments, exploring unique topics, and keeping up with the latest trends in the tech industry, and gaming is the sweetest spot.
Eray has been rocking it as a news manager and content creator at spots like, TechBriefly, Gamelevate, Softonic, and various tech realms. Crafting over 2k tech articles, Eray captivated millions of readers for over three years.
Now, over at THESPIKE, Eray is a content writer, blending the love for spinning stories and helpful guides for all-things gaming.