Minecraft Splash Potion of Weakness recipe: Complete brewing guide
Essential for curing zombie villagersON THIS PAGE:
- What is a Splash Potion of Weakness in Minecraft?
- Minecraft Splash Potion of Weakness recipe
- Ingredients required for the Splash Potion of Weakness potion
- How to make a Brewing Stand
- How to make a Splash Potion of Weakness in Minecraft?
- Extended Potion version recipe
- How to use the Splash Potion of Weakness
- What is the Splash Potion of Weakness used for?
- Java vs Bedrock differences
- 3 common brewing mistakes you should avoid
- Advanced villager trading strategy
Even though Minecraft Splash Potion of Weakness does not deal damage or provide powerful buffs, this potion is essential for curing zombie villagers, reducing enemy attack damage, and improving survival strategies in both single-player and multiplayer worlds.
Unlike most Minecraft potions, the Potion of Weakness is unique because it does not require Nether Wart. That makes it easier to craft early in survival mode once you get basic brewing materials.
In this guide, you’ll master everything you need to know about brewing a Splash Potion of Weakness in Minecraft — from gathering the right ingredients and avoiding beginner mistakes to crafting both the regular and extended versions like a true potion master. Whether you want to cure zombie villagers, dominate PvP fights, or build the ultimate villager trading hall, this guide will teach you the fastest and smartest way to brew one of Minecraft’s most important utility potions.
What is a Splash Potion of Weakness in Minecraft?
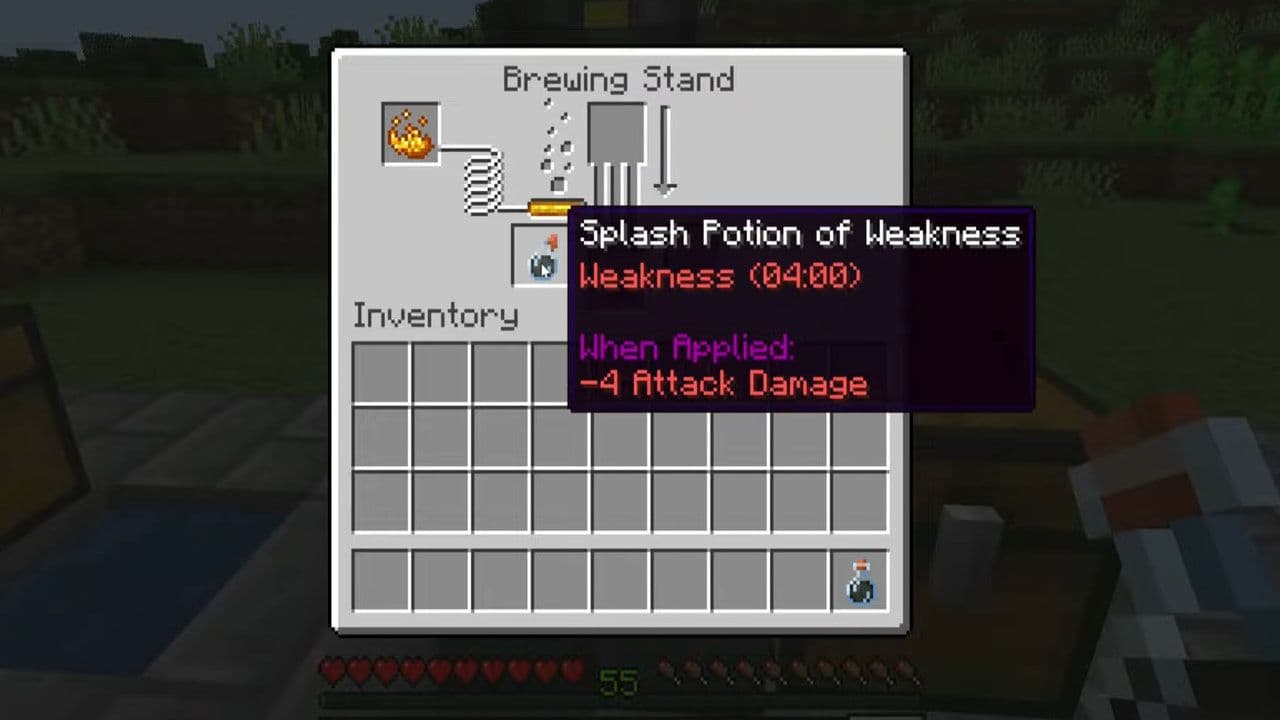
A Splash Potion of Weakness is a throwable potion that applies the Weakness status effect to players and mobs within a small area.
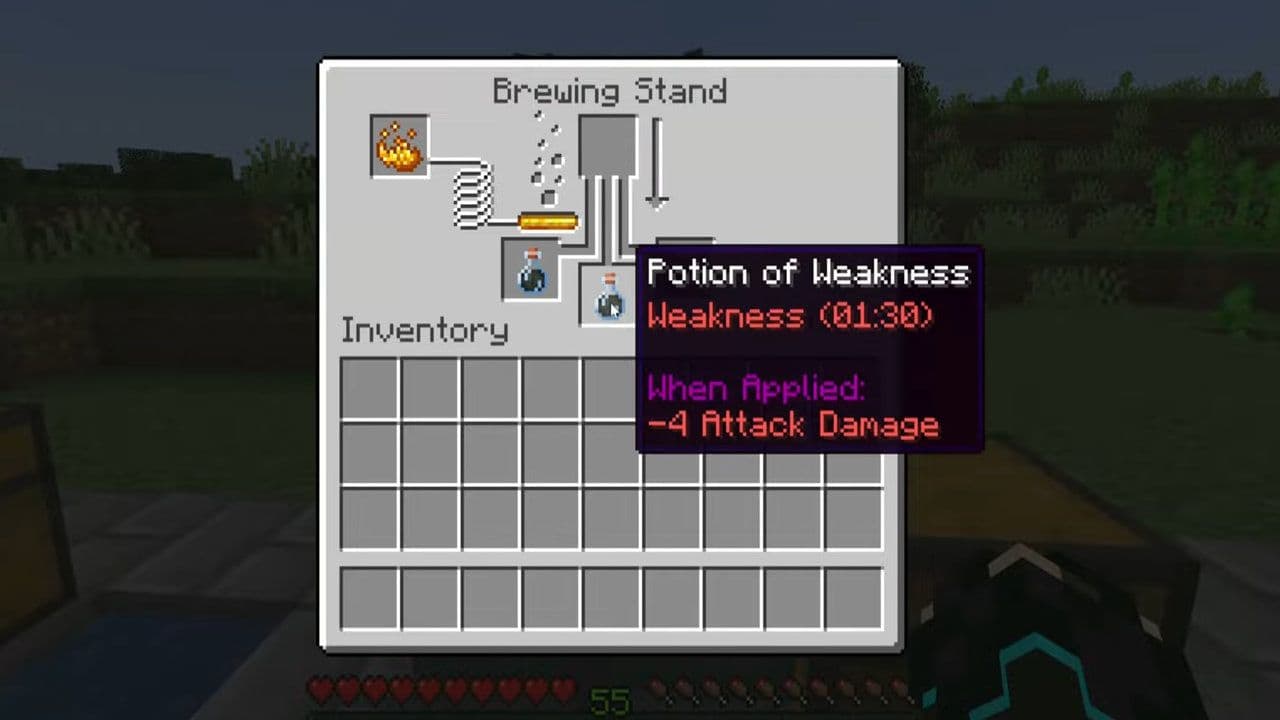
The Weakness effect reduces melee attack damage for a limited amount of time. In Java Edition, it lowers attack damage by 4 points.
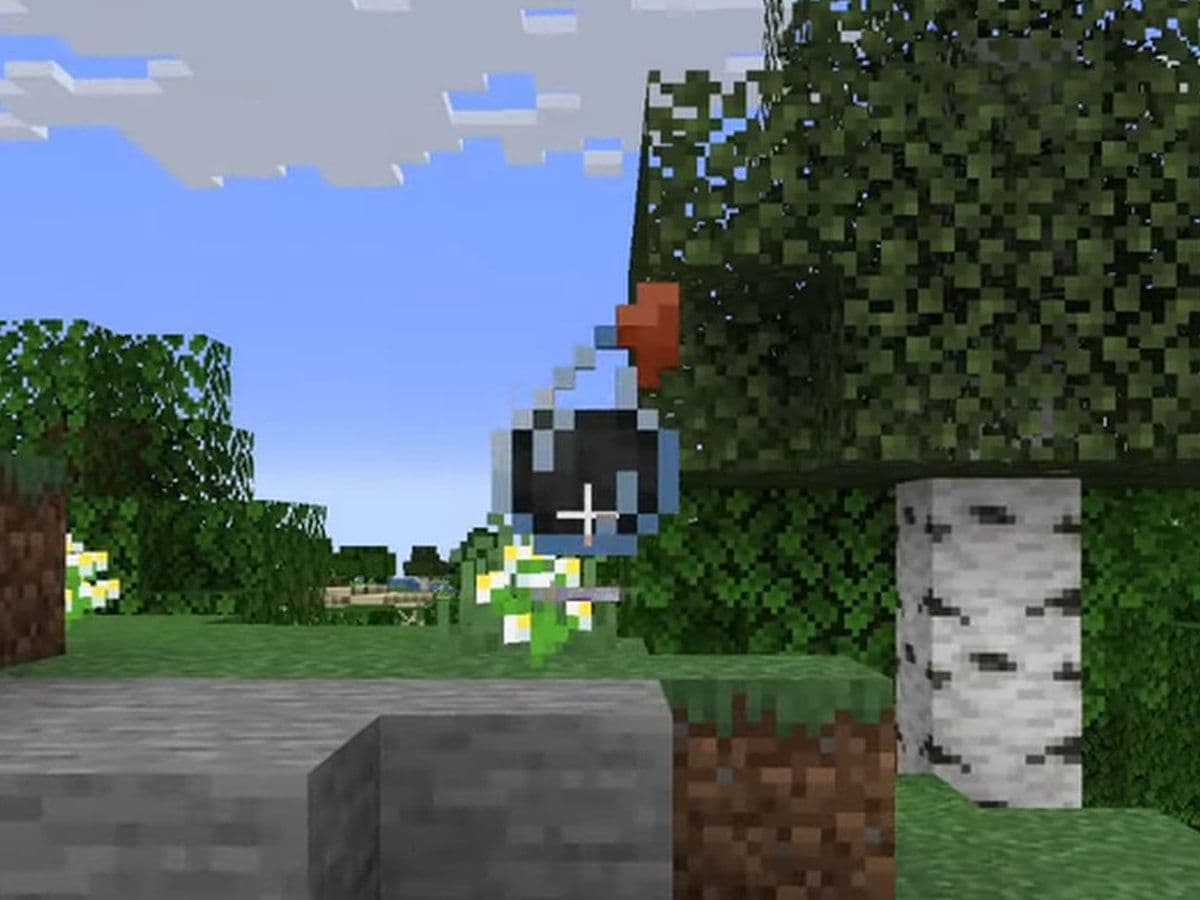
The splash version allows you to throw the potion instead of drinking it yourself. This makes it useful for combat, villager curing, and PvP situations.
Minecraft Splash Potion of Weakness recipe
Here is the complete brewing process:
- Water Bottle + Fermented Spider Eye = Potion of Weakness
- Potion of Weakness + Gunpowder = Splash Potion of Weakness
This recipe works in both Minecraft Java Edition and Bedrock Edition.
Ingredients required for the Splash Potion of Weakness potion
To make a Splash Potion of Weakness, you need:
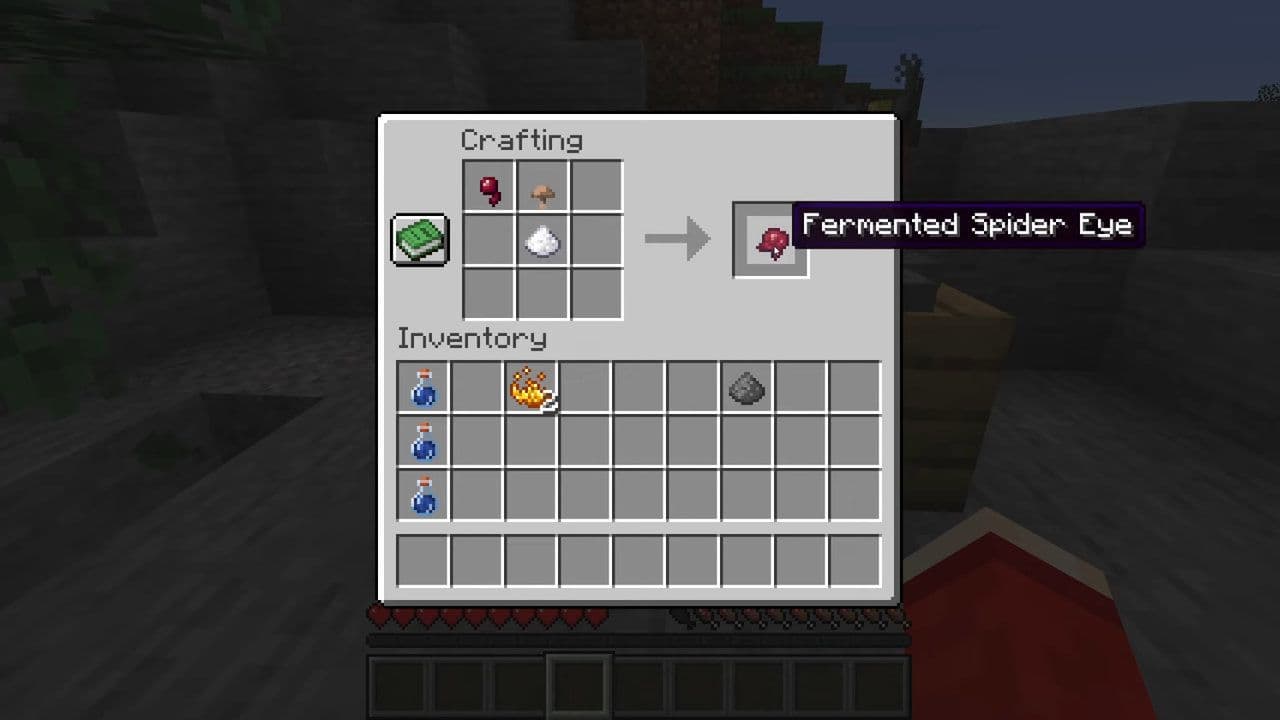
How to Make a Fermented Spider Eye
The Fermented Spider Eye is the key ingredient in the Minecraft Splash Potion of Weakness recipe.
Crafting ingredients
You need:
- 1 Spider Eye
- 1 Brown Mushroom
- 1 Sugar
Combine them in a crafting table to create:
- 1 Fermented Spider Eye
Where to find materials
- Spider Eye: Dropped by:
- Spiders
- Cave Spiders
- Brown Mushroom: Found in:
- Dark caves
- Swamps
- Dark Forest biomes
- Sugar: Crafted from:
- Sugar Cane
How to make a Brewing Stand
Before making the potion, you need a Brewing Stand. Materials:
- 1 Blaze Rod
- 3 Cobblestone
Craft the Brewing Stand and place it anywhere in your base.
So, how to make a Splash Potion of Weakness in Minecraft?
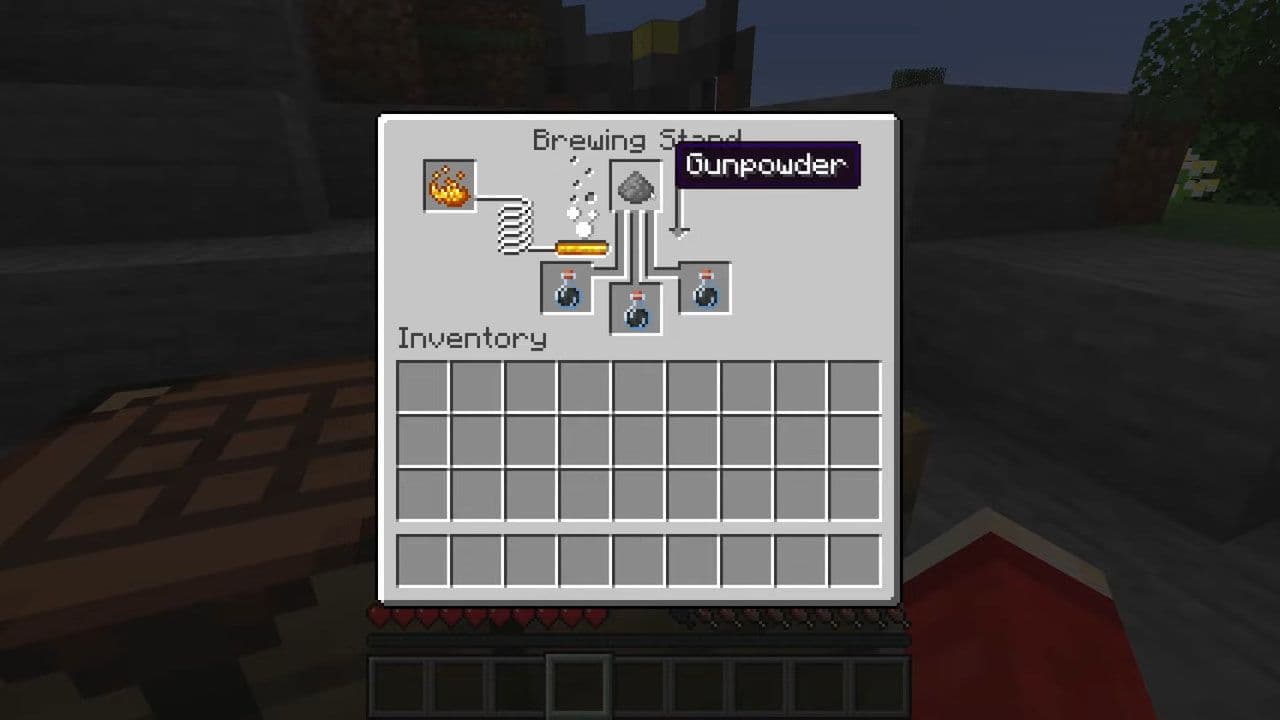
To make a Splash Potion of Weakness in Minecraft, you first need to brew a regular Potion of Weakness and then turn it into a splash potion using Gunpowder. Here is how:
- Place Blaze Powder into the fuel slot on the left side of the Brewing Stand. Brewing will not work without fuel.
- Put up to three Water Bottles into the bottom slots of the Brewing Stand.
- Place a Fermented Spider Eye into the top ingredient slot. After brewing finishes, you will get: Potion of Weakness
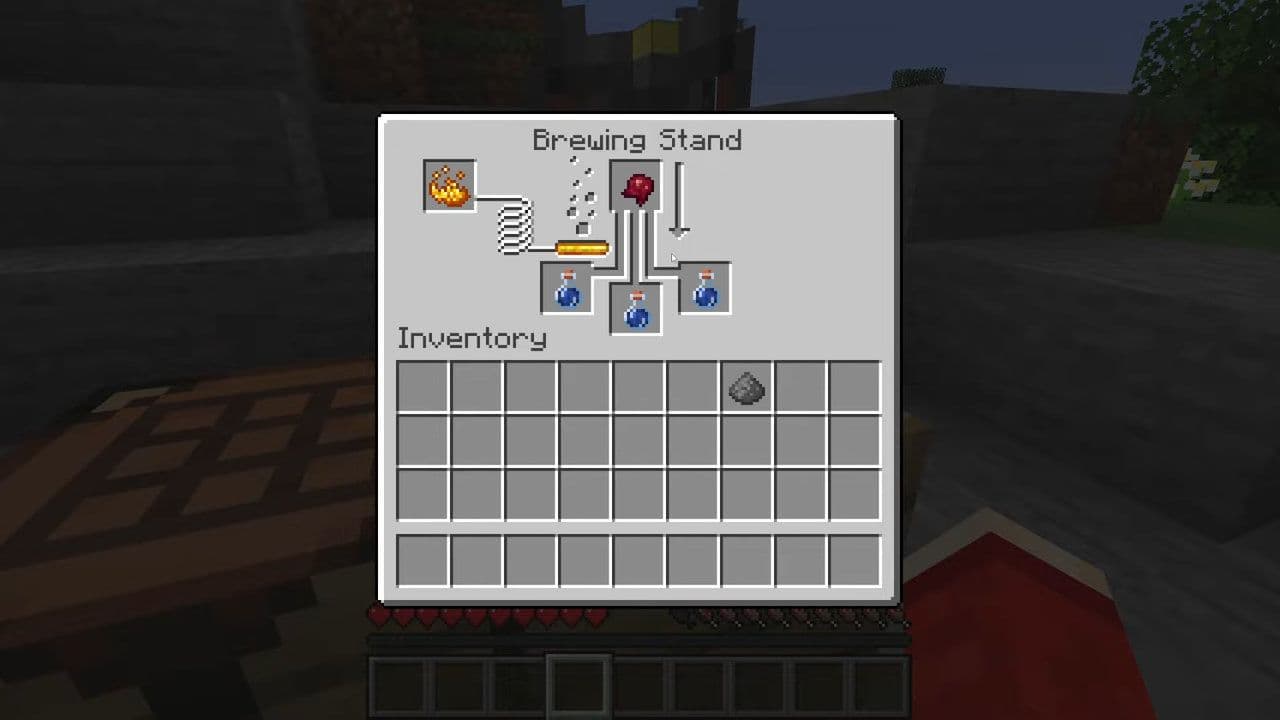
Do not add Gunpowder first. You must brew the regular Potion of Weakness before converting it into a splash potion.
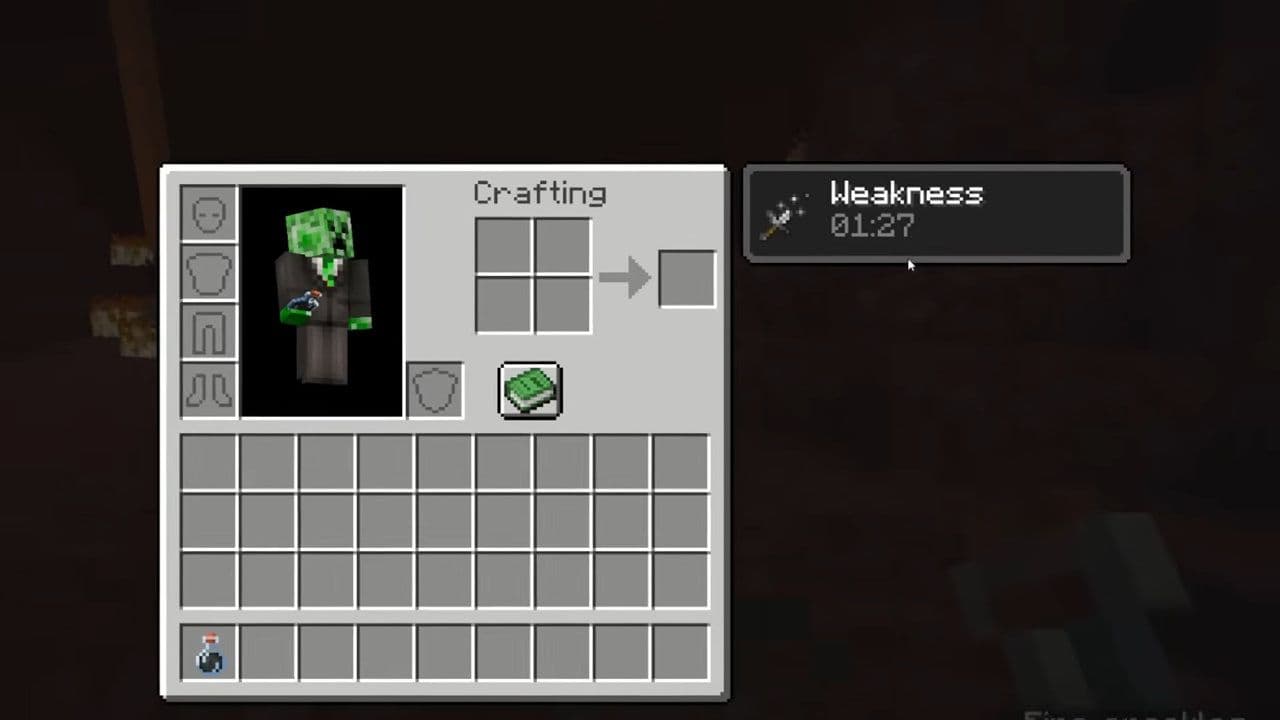
Extended Potion version recipe
You can increase the duration of the Potion of Weakness before converting it into a splash potion.
- Potion of Weakness + Redstone Dust = Extended Potion of Weakness
- Extended Potion of Weakness + Gunpowder = Extended Splash Potion of Weakness
The extended version lasts longer and is useful during raids or long PvP battles.
How to use the Splash Potion of Weakness
The potion works differently depending on your platform.
Java Edition
- Right-click to throw
Bedrock Edition / Mobile
- Tap and hold
Console Editions
- Use the trigger button
When thrown, the potion breaks on impact and creates an effect cloud that applies Weakness to nearby entities.
What is the Splash Potion of Weakness used for?
The main use is curing Zombie Villagers.
- Throw the Splash Potion of Weakness at the Zombie Villager
- Give it a Golden Apple
- Wait 2–5 minutes
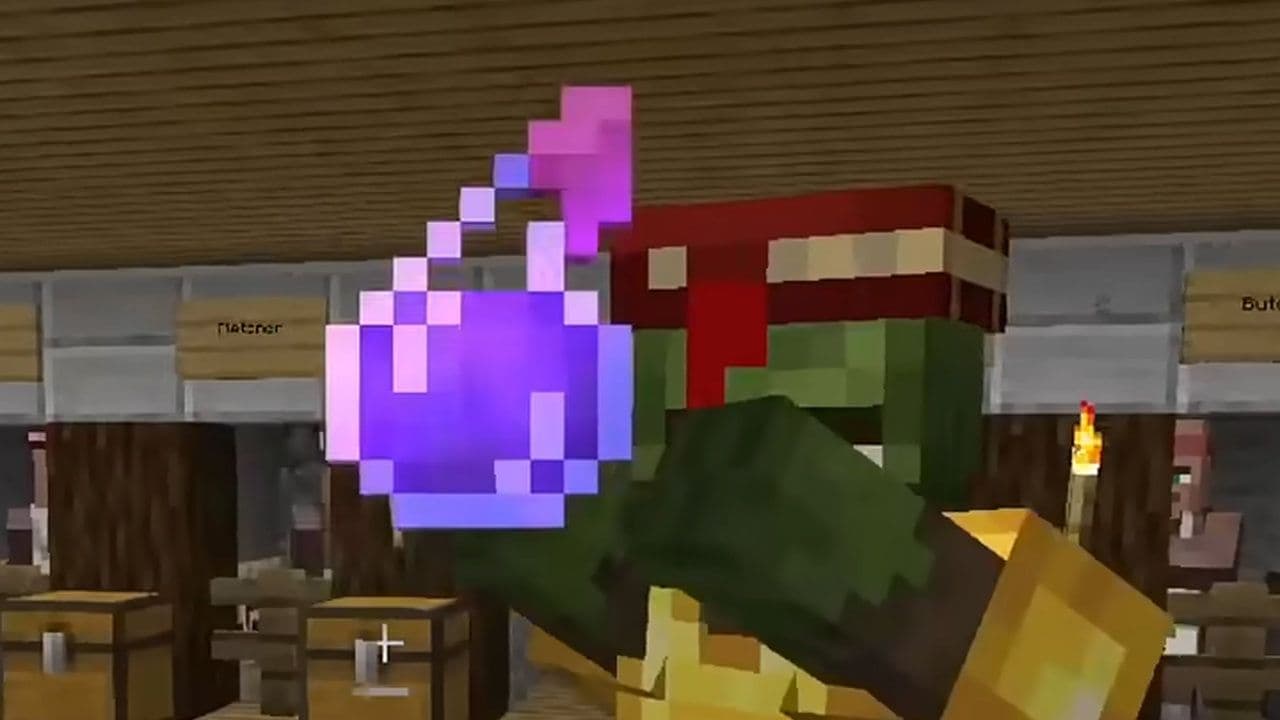
The Zombie Villager will turn back into a normal villager with discounted trades.
You can also use the potion to weaken hostile mobs and players during PvP fights.
Java vs Bedrock differences
The recipe itself is identical in both editions:
- Minecraft: Java Edition
- Minecraft: Bedrock Edition
However, attack damage values differ slightly between versions.
3 common brewing mistakes you should avoid
- Using Nether Wart
- Many players mistakenly start with an Awkward Potion.
- For a Weakness potion, use a Water Bottle directly — Nether Wart is not needed.
- Forgetting Blaze Powder
- Brewing Stands require Blaze Powder as fuel.
- Always check the fuel meter before brewing.
- Adding Gunpowder Too Early
- First make the Potion of Weakness, then convert it into a splash potion.
- Correct order: Water Bottle → Fermented Spider Eye → Gunpowder
Advanced villager trading strategy
Expert players intentionally infect and cure villagers multiple times to stack trade discounts.
This allows:
- Extremely cheap enchanted books
- Affordable diamond gear
- Infinite emerald trading loops
The Splash Potion of Weakness becomes the core of an entire economic system inside Minecraft.
The Splash Potion of Weakness may not look flashy compared to explosive combat potions or powerful buffs, but it is one of the most strategically important items in Minecraft. From curing zombie villagers to weakening dangerous enemies, this potion unlocks mechanics that can completely transform survival gameplay.
For beginners, it introduces the fundamentals of brewing. For advanced players, it becomes the foundation of efficient villager economies and high-level progression systems.
That’s all for today! Looking for more Minecraft guides? Check out these:
- Minecraft Phonk Edits Mod: Integrating viral phonk music and visual effects into gameplay
- Finding diamonds in Minecraft: Everything you need to know
- Minecraft Orbital Railgun Mod: Complete guide to download, craft and use the weapon
- Exploring the best Minecraft shaders for enhanced visuals
- Minecraft Controlify Mod: How to install and use