How to change render distance in Minecraft
If you have an old PC or slow hardware that can’t run Minecraft on full settings and the performance is making you lose your mind, we have a solution. Changing render distance in Minecraft is one of the easiest ways to make the game feel better on your device. The setting controls how far you can see around your character. A higher value shows more terrain, while a lower value can make the game run smoother. Here is how to change render distance in Minecraft and the benefits of it!
What is render distance?
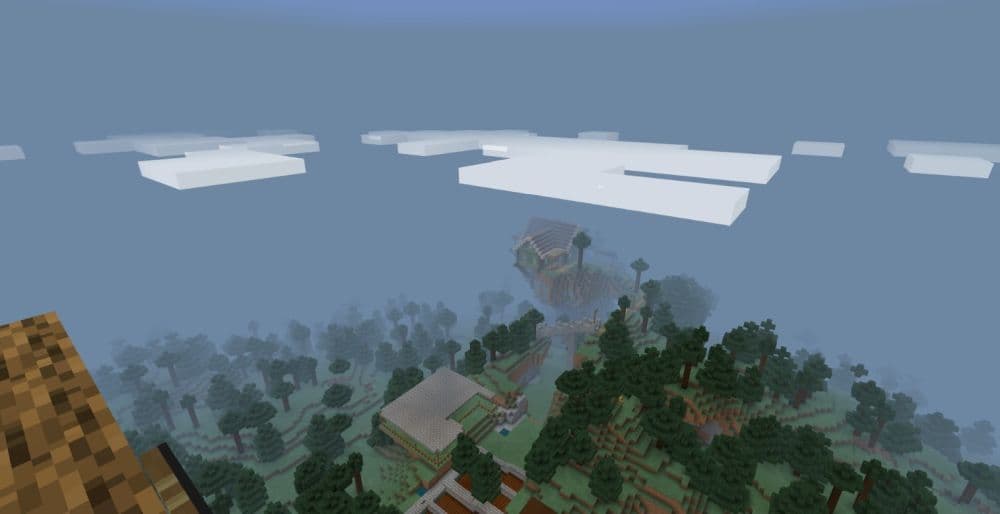
Render distance is a video setting that controls how many chunks Minecraft shows around the player. A chunk is a 16×16 block section of the world. When you raise render distance, Minecraft loads more chunks into view. When you lower it, Minecraft shows less of the world around you.
Render distance affects:
- How far you can see terrain
- How far away structures appear
- How much world detail loads around you
- How much work your device must do
- How smooth the game feels during travel
For example, 8 chunks gives a shorter view but better performance on many devices. A setting like 16 chunks gives more range, but it also asks more from your system. If you use Minecraft shaders, high-resolution resource packs, or many mods, render distance can affect performance even more.
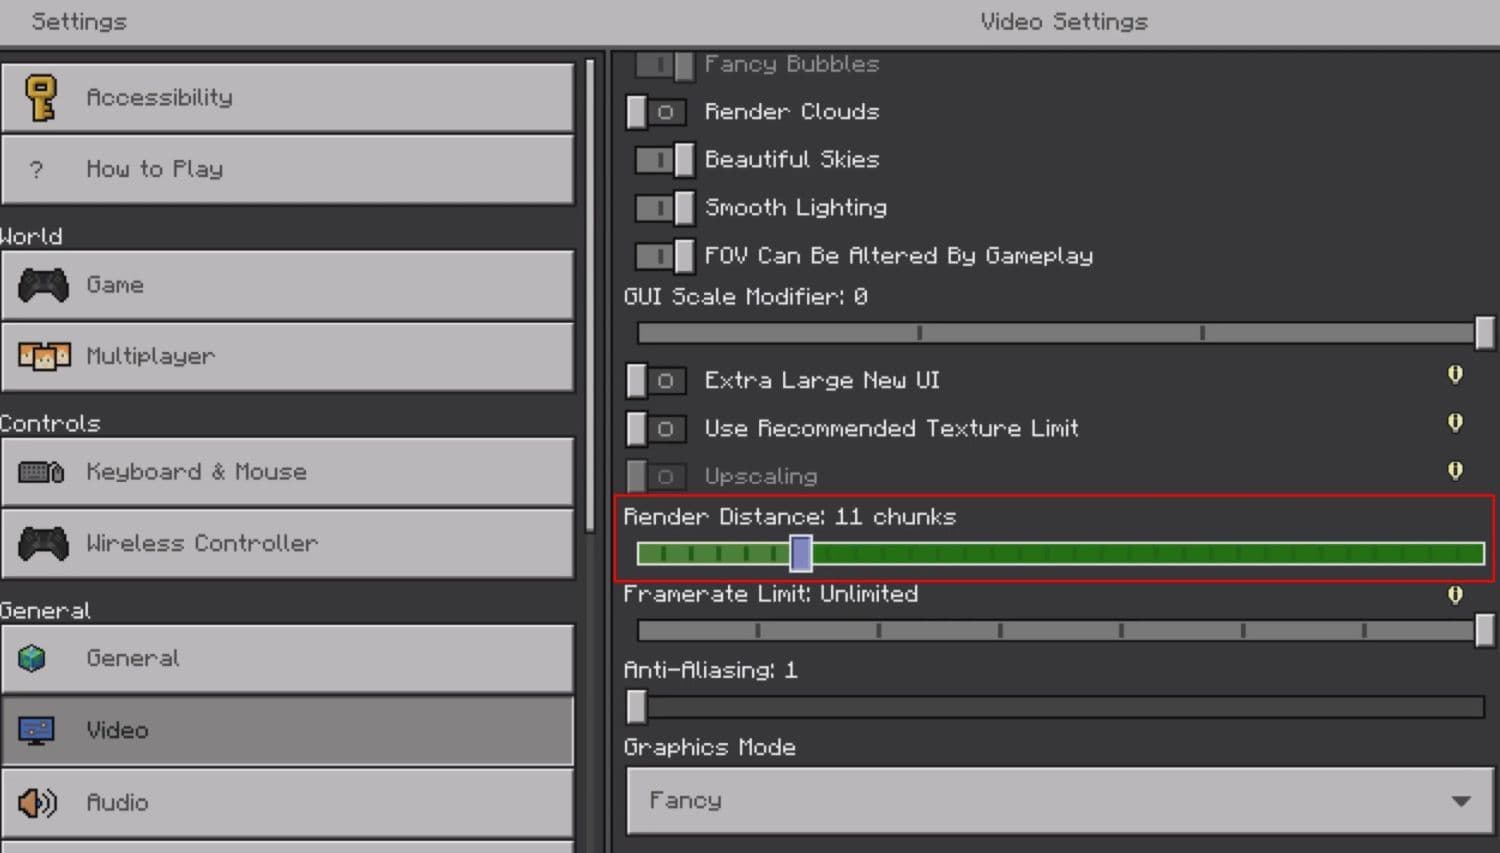
How to change render distance
You can change render distance from the video settings menu. The exact path depends on the Minecraft version you play. Java Edition and Bedrock Edition use different menus, but the idea stays the same.
Follow these steps for the Java Edition, but Bedrock is also very similar:
- Open Minecraft Java Edition.
- Enter a world or stay on the main menu.
- Press Esc.
- Select Options.
- Open Video Settings.
- Find Render Distance.
- Move the slider higher or lower.
- Select Done to save the change.
How to change render distance on a Minecraft server
Minecraft servers work differently from single-player worlds. Your own render distance setting controls what your game tries to show, but the server can still limit how much world data it sends to you.
This means your setting may not fully work on multiplayer servers. If the server uses a low view distance, you cannot force your client to see farther than the server allows.
Server owners can change this through the server files:
- Stop the server.
- Open the server.properties file.
- Find the view-distance line.
- Change the number.
- Save the file.
- Restart the server.
Benefits of changing render distance
Changing render distance can improve Minecraft in different ways. The best value depends on what you care about most: view range, FPS, exploration, or server stability.
Higher render distance gives better visibility
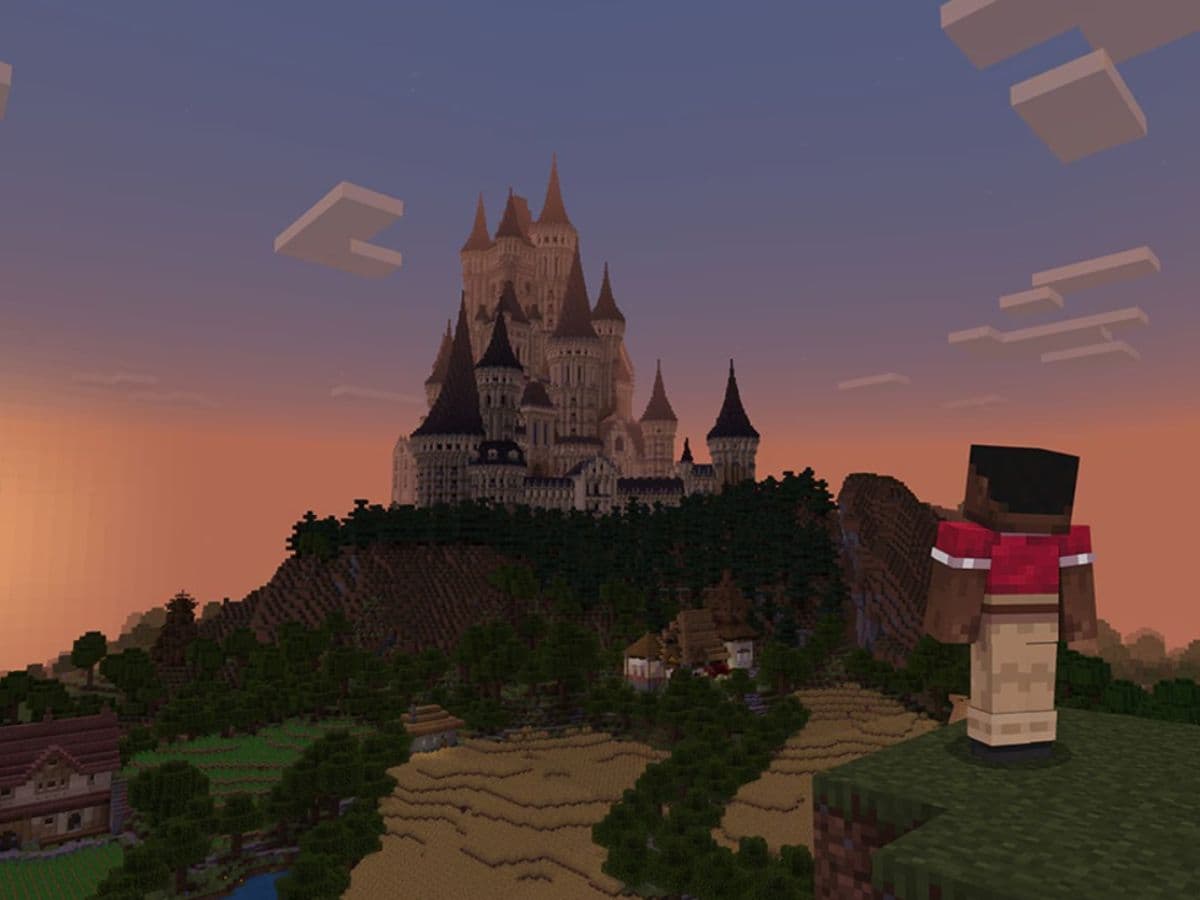
A higher render distance lets you see more of the world around you. This feels useful when you explore large biomes, fly with Elytra, build huge structures, or search for landmarks.
Higher distance can help when you want to:
- Spot villages, temples, and ruined portals
- See mountains, oceans, and forests from far away
- Plan large Creative builds
- Take better screenshots
- Navigate without checking the map too often
This works best on better and newer devices. If the game still runs smoothly, a higher value can make Minecraft feel more open and easier to read.
Lower render distance can reduce lag
Lower render distance reduces the number of chunks your device must show.
This can improve FPS and reduce stutter, especially on older hardware.
Lower the setting if you notice:
- Frame drops while moving
- Slow chunk loading
- Freezes when turning the camera
- Poor performance near villages or farms
- Extra lag with shaders or mods
This is often the fastest Minecraft lag fix because it changes how much world detail the game must draw at once. You do not need to change your world, remove builds, or restart progress.
Balanced render distance gives the best result
The best render distance is usually a middle setting. You want enough view range to play comfortably, but you also want stable performance.
Here is a simple starting point:
Best render distance settings for Minecraft
The best Minecraft render distance setting depends on your device and play style. A player who builds in Creative may want a longer view. A player who fights mobs or plays PvP may prefer smoother frames.
For most players, 10 to 16 chunks gives a good balance. It shows enough terrain for normal play and keeps performance stable on many systems. Players with strong PCs can go higher, but they should still test the game in busy areas.
Use this quick method:
- Set render distance to 10 or 12 chunks.
- Walk through a normal Survival area.
- Turn the camera quickly.
- Check for stutter or slow loading.
- Raise the value if the game feels smooth.
- Lower it if FPS drops.
Do not test only in an empty world. Test near your base, farms, mobs, storage rooms, and large builds. Those areas show the real performance cost.
We have more Minecraft guides for you to read below:
- How to change skin in Minecraft (Java, Bedrock, PC, and Console)
- How to TP in Minecraft: Teleportation explained (Coordinates, Villages, Death Location)
- How to tame Parrots in Minecraft: Seeds, advantages, and more
- Smelting in Minecraft: A complete guide to furnaces, fuels, and efficiency tips for 2025
- Minecraft enchanting table recipe, setup, language & everything you need to know
Featured Image Credit: Mojang
All Related Guides
 Minecraft Chaos Cubed guide: Everything new in the 2026 updateExplore everything new in Minecraft Chaos Cubed, including Sulfur Caves, Sulfur Cubes, geysers, new blocks, co...
 How to grow mangrove trees in MinecraftFind out how to grow mangrove trees in Minecraft with simple steps, growth requirements, farming tips, and com...
 How to craft a name tag in MinecraftLearn how to craft a name tag in Minecraft, how to use it with an anvil, and why it matters for pets, mobs, an...
 Here is how to make a water elevator in MinecraftHere’s how to make a water elevator in Minecraft, including the materials you need and why your bubble column ...
 New Minecraft capes alert: How to get the Crafter and Builder CapesMinecraft Crafter and Builder Capes guide: unlock requirements, TwitchCon rewards, Minecraft LIVE details, and...
 What is the “getsockopt” error in Minecraft and how to fix itFix the getsockopt Minecraft error with simple checks for firewall, server address, DNS, LAN settings, and con...
 How to turn off narrator in Minecraft (All platforms)How to turn off narrator in Minecraft: PC shortcut, Java, Bedrock, Xbox, PlayStation, and mobile fixes....
 Minecraft Sulfur Spikes guide: How to get it, location, uses, & tipsMinecraft Sulfur Spikes guide: locations, how to get, damage mechanics, uses, traps, and survival tips....
- 1
- 2
- 3
- 4
- 5
- 6
- 7
- 8